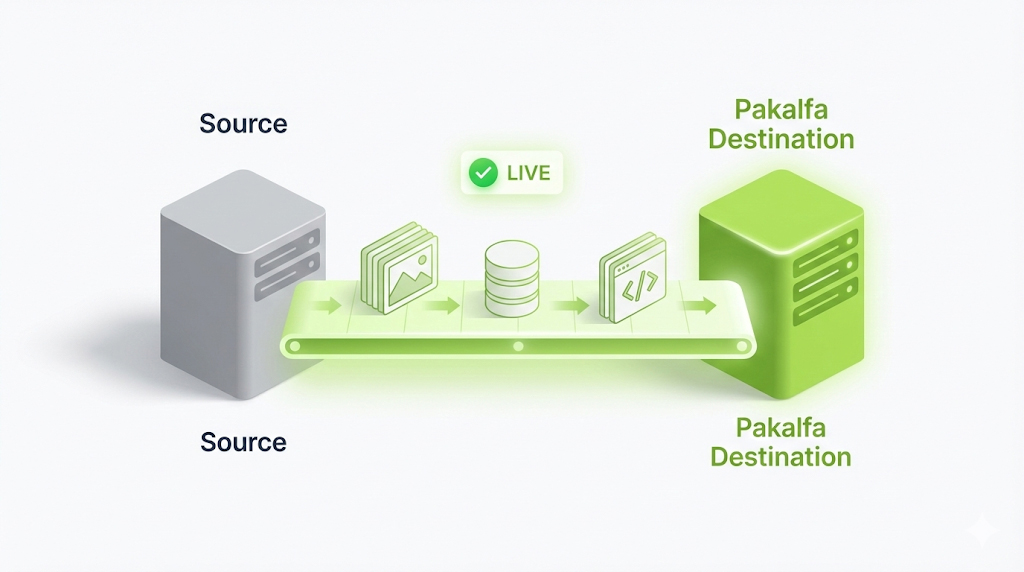
Migrating your website from one hosting provider to another can be a daunting task, especially when you consider the potential downtime and impact on your online presence. However, with the right approach and tools, you can move your website to Pakalfa hosting without any disruption to your visitors or business operations.
In this article, we’ll walk you through the steps involved in migrating your website to Pakalfa hosting, including how to prepare your website for the move, how to transfer your files and databases, and how to test your website on the new hosting environment before going live.
Step 1: Choose Your Pakalfa Hosting Plan
The first step in migrating your website to Pakalfa hosting is to choose the right hosting plan that fits your website’s requirements. Pakalfa offers a range of hosting plans, including shared hosting, VPS hosting, and dedicated hosting, so you can choose the one that best suits your needs.

Step 2: Backup Your Website
Before you start the migration process, it’s crucial to backup your website to ensure you have a copy of all your files, databases, and other data. Most hosting providers, including Pakalfa, offer backup services, but it’s recommended to create a separate backup for added security.
Step 3: Point Your Domain Name to Pakalfa
To ensure your visitors can access your website on the new hosting environment, you’ll need to point your domain name to Pakalfa’s DNS servers. This process involves updating your domain name’s DNS records, which can be done through your domain registrar or DNS management panel.
Step 4: Transfer Your Files and Databases
With your website backed up and your domain name pointed to Pakalfa, you’re ready to transfer your website files and databases to the new hosting environment. Pakalfa provides several tools to make this process seamless, including FTP/SFTP access, cPanel file manager, and MySQL database management.
Step 5: Test Your Website on the New Hosting Environment
Once your website files and databases are transferred to Pakalfa hosting, it’s essential to test your website on the new environment before going live. This includes checking for broken links, missing files, and any other issues that may impact your visitors’ experience.
Step 6: Update Your DNS Records
After testing your website and ensuring everything is working correctly, it’s time to update your DNS records to point to Pakalfa’s servers. This ensures that your website is live on the new hosting environment and accessible to your visitors.
Step 7: Cancel Your Old Hosting Plan
Finally, once your website is live on Pakalfa hosting and your DNS records are updated, you can cancel your old hosting plan to avoid any unnecessary charges.
If you need assistance with migrating your website to Pakalfa hosting, feel free to contact us at +923234644578 or drop us a message on WhatsApp. Our team of experts will be happy to help you throughout the process.


Leave a Reply