
If you’re eager to launch your web hosting journey with Pakalfa, it’s a straightforward process. Follow these steps to initiate your experience with Pakalfa:
Step 1: Visit the Pakalfa Website

- Start by heading to the Pakalfa website.
Step 2: Select Your Hosting Plan
- Choose a hosting plan that suits your specific needs and budget. Pakalfa offers a variety of options to cater to different requirements.

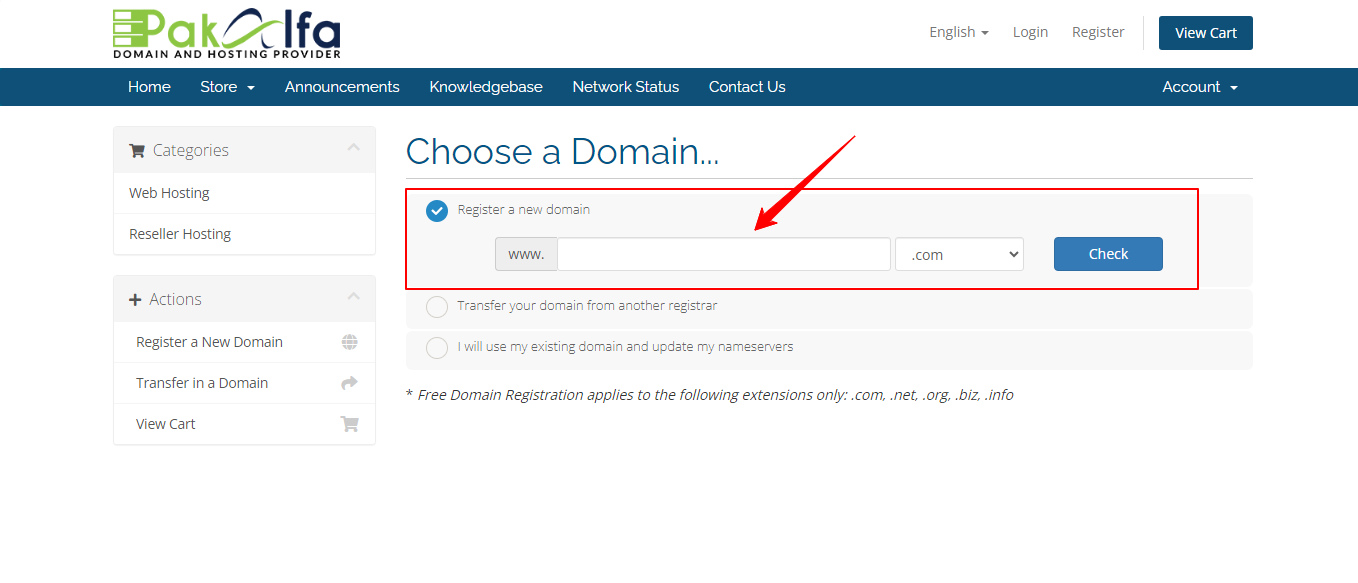
Step 3: Choose Your Domain Name
- Pick your preferred domain name or opt for a free domain name provided by Pakalfa. You also have the flexibility to transfer an existing domain name to Pakalfa.
Step 4: Provide Personal and Billing Information
- Fill in the necessary personal details and billing information. Select your preferred payment method, whether it’s a debit/credit card or PayPal.
Step 5: Review and Confirm Your Order
- Thoroughly review your order to ensure accuracy. Once you’re satisfied, click the “Place Order” button. You’ll receive a confirmation email containing your account information and login credentials.
Step 6: Access Your Account
- Log in to your Pakalfa.com account. From here, you can access your cPanel control panel, which empowers you to manage your website, install applications such as WordPress, create email accounts, and more.
Embarking on your web hosting journey with Pakalfa is your gateway to hosting and controlling your online presence. If you encounter any questions or issues along the way, our 24/7 support team is here to assist you. To get in touch with our support team. and they’ll be delighted to help. We wish you the best of luck on your Pakalfa journey! ?
Leave a Reply